Thursday, July 31, 2014

Scrappy Monthly Wall Hangings -- Starting off and a Snowman

Have you ever seen the set of calendar wall hangings designed my Kim Schaefer?


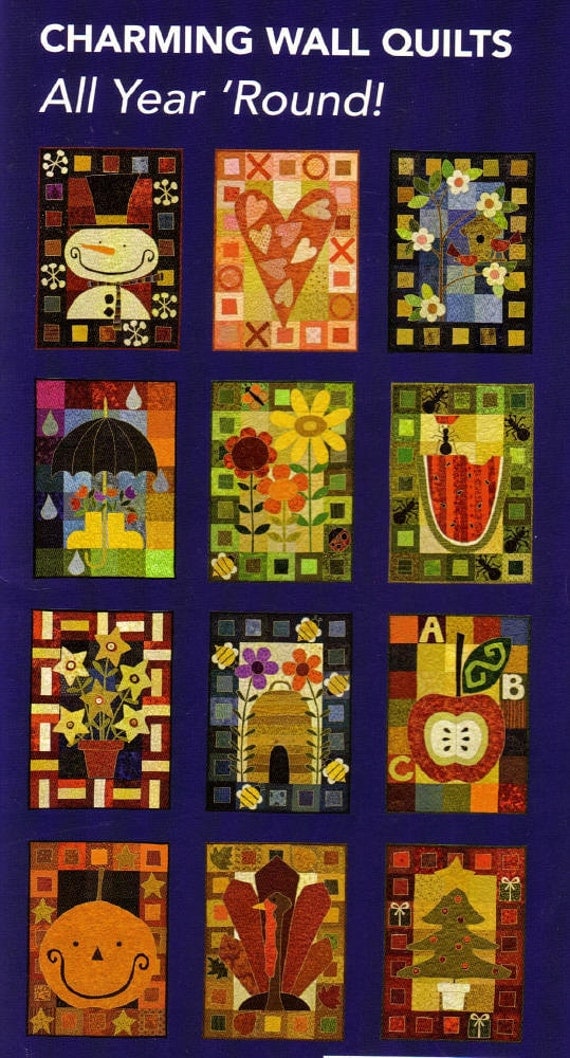
If you follow Honey, Bunny, and Doll on Pinterest, Our Finished Projects board has the pictures of the ones that my mom made. 


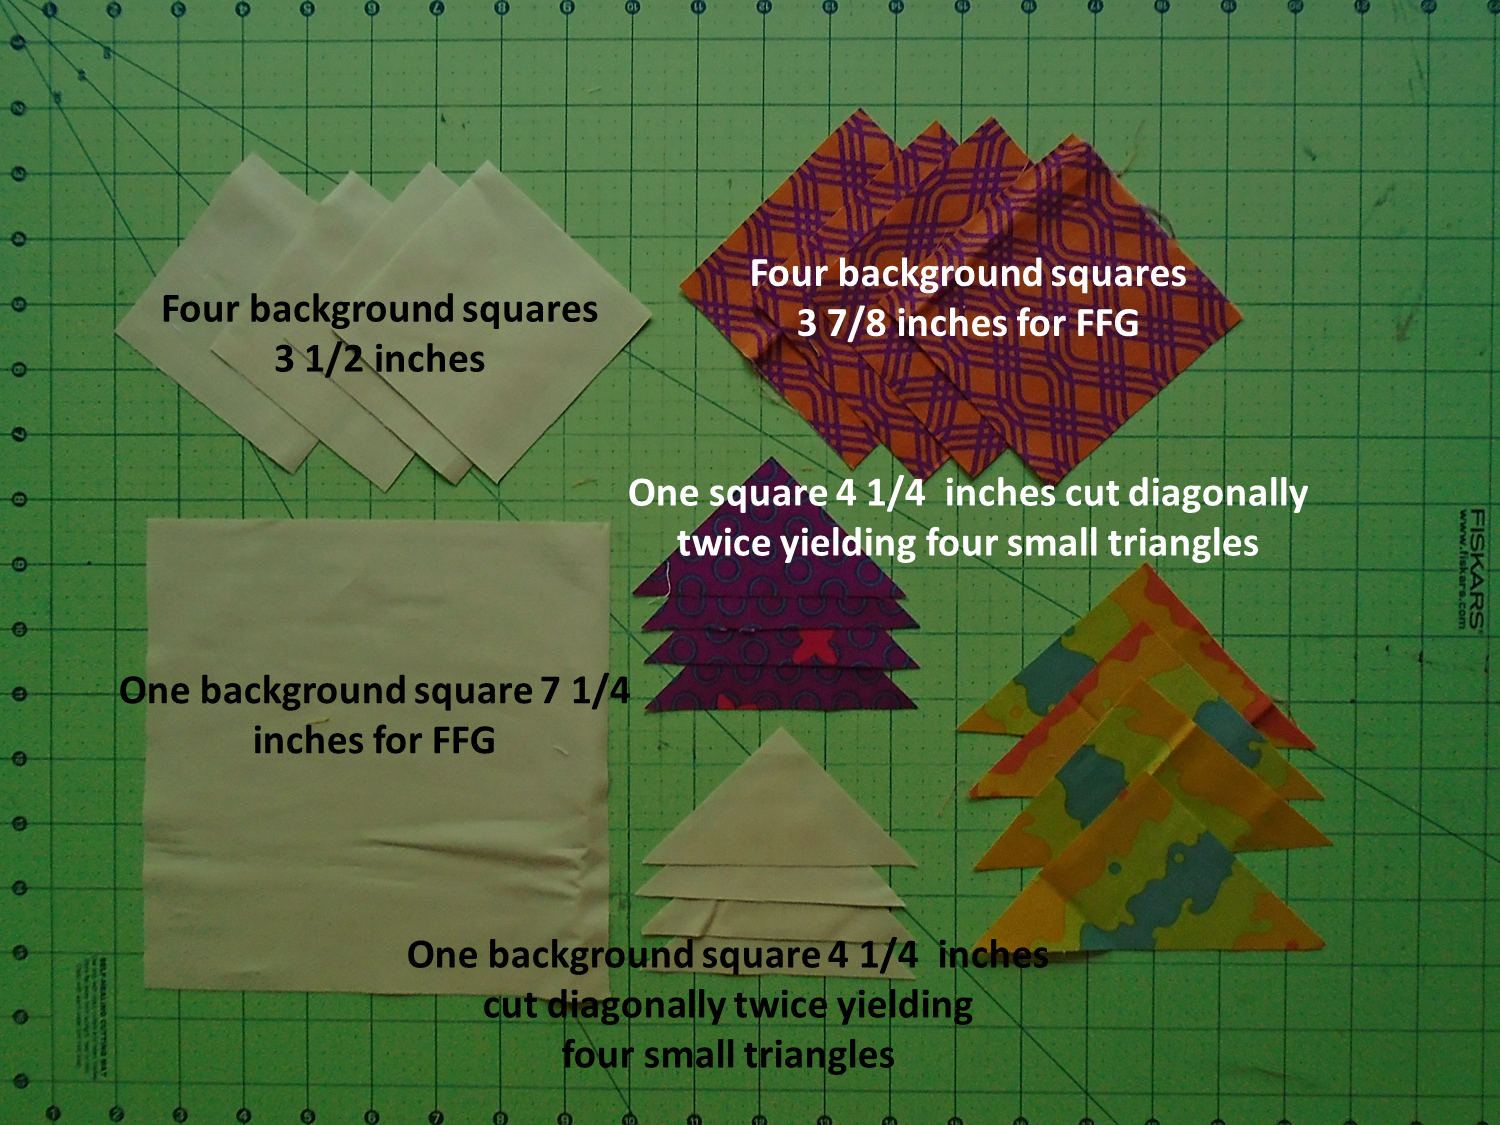
Since my scrap boxes are overflowing and with no particular scrap project in mind right now, I've decided to start making my own to hang in my dining room. I decided to change up the dimensions of the squares so that the finished size will fit better between my windows. 

The original set is rather dusty/country/dull colored, so mine will be much brighter like the ones that my mom made but with my own color schemes. I started working on putting together the background squares for about half of the wall hangings with my own color schemes. 

Here's February, August, November, and December's backgrounds:


Since none of the months had a significant amount of purple and a lot of them had blue, I decided to use all purple for August, which will have bees and a beehive on it.

Here's January with the start of the snowman put on it:


I decided not to do the black background for this one and decided to go with a full snowman instead of just his head. I need to get myself some buttons for his eyes and "chest". There will be lots of satin stitching to do for this project! I need to assess my thread colors and see what I need to add. I'm trying to decide what else needs to be added to the snowman. Such difficult decisions!

Happy Thursday! 

PS. The voting for Block #12 in the QCQAL is WAY TOO CLOSE and we need everyone to keep voting!

Monday, July 28, 2014

July ALYoF Goal -- completed!

My goal for this month (and last month, which I failed at) was getting my blue batik star quilt top all together.

After multiple quilt shop stops and lots of ironing, it is complete!

Here's after all of the blocks and pieced sashings were together and I realized that I actually hadn't made too many square in a square units -- they were also the cornerstones of the sashing. Duh.


Here'st he finished product:


I think that I've decided that I am not going to put a border on this one and potentially give it as a baby quilt. Those white stars really pop out at you don't they?

Happy sewing and don't forget to vote for Block 12 in the QCQAL!

QCQAL Block #11 -- Missouri Star

This week we are making Missouri Star blocks!


This is a pretty traditional block but a fun one nonetheless because you can integrate quite a number of different fabrics. Check out pin-spiration here!

I've developed a way to make this block using fast flying geese and I found that it worked GREAT. You don't have to cut the tiny triangles at all! I'm planning to post another more in-depth tutorial on this new method later this week.


Cutting:
One (1) 7 1/4 inch background square for fast flying geese
Four (4) 3 1/2 inch background squares

One (1) 4 3/4 inch square -- this is your center square -- fussy cut if you so desire!
Two (2) 3 7/8 inch squares -- cut each in half diagonally once, yielding four (4) triangles
Two (2) 4 3/8 inch squares in one color
Two (2) 4 3/8 inch squares in a second color


Using your 4 3/4 inch square and your pre-cut triangles -- sew long sides of triangles to the 4 3/4 inch square making sure to trim dog-ears as you go. Trim to 6 1/2 inches if necessary.


Using your four 4 3/8 inch squares, draw lines on two of the squares and make four half-square triangles. It is helpful for these blocks to press the seam open. Trim to 3 7/8 inches.


Draw diagonals on the backs of all four of your half-square triangles perpendicular to your seams. I did not draw over the seam itself.


Line up two of your half-square triangles atop of your 7 1/4 inch background square, just as in a typical fast flying geese method. You'll want to have one color at the corners (like my pink) and the other color at the center (like my yellow).


Sew 1/4 inch on each side of the line and cut apart on the line and press.


Line up your remaining two half-square triangle units with the last two background corners with colors oriented in the same direction -- "pink" at the corner and "yellow" at the center.


Sew 1/4 inch on each side of the line, cut apart on the line, and press.


Lay out your block as shown below.


Sew together, press, and trim if necessary!


Aren't you happy you didn't have to sew all those little triangles?

Thursday, July 24, 2014

July Stash Bee Block

This month Francine requested a wonky pinwheel block. I'd never made one before and it was very fun! I only had one section that I had to redo because it wasn't big enough.

Here's each of the blocks with one of the spokes sewn on each one:


Here's all 16 of the units trimmed and pressed:


Here's the finished block all put together:


Aren't these colors great?

Happy Thursday to you!

Friday, July 18, 2014

Not-A-Finish Friday

It's been a crazy long time since I've had a finish and an even longer time since I finished a quilt. Things around here have been a general fail zone.

I did get all of my blue batik star blocks sorted into 12 blocks and started sewing the first one.


I'm so happy with how the first one turned out! I also really like using this paper plate method for sorting my blocks ahead of time!

Silly me doesn't know how to count and I made 6 extra center square in a square blocks and about 10 extra star point squares AND THEN I cut my blue/cream/grey yardage into squares (at least 30 of them) and then I looked at my pattern and realized that I only needed 12 of them. I don't know what the kerfluffle is going on with my brain right now!

Maybe I'll have enough to make another row of blocks so all that fabric that I cut and block parts that I made won't go to waste! If worse comes to worse, they can always go on the back.

Anyone else on the struggle bus this week?

Monday, July 14, 2014

QCQAL Block #10 -- Martha Washington Star

Welcome back for block #10 -- Martha Washington Star!


This block is a modified Sawtooth Star block. Above is the two color version, but I'm making a three color version with a double pinwheel in the center. It's all about how you color your block! Click here for Martha Washington Star pin-spiration!

Cutting:
Four (4) 3.5 inch background squares
One (1) 7 1/4 inch square for fast flying geese
One (1) 4 1/4 inch background square cut diagonally twice into 4 small triangles

Four (4) 3 7/8 inch squares for fast flying geese
One (1) 4 1/4 inch square cut diagonally twice into 4 small triangles
Two (2) 3 7/8 inch squares cut diagonally once into 2 medium triangles each, 4 medium triangles total


Sew together your small background triangles and small colored triangles together in pairs to make medium sized triangle-pairs with your colored fabric on the left when the longest side is on the bottom. Press and trim off dog ears.


Sew each triangle pair from the previous step to one of your medium colored triangles. Press and trim dog ears, squaring up to 3 1/2 inches if necessary.


Sew together your four triangle units into one square finishing at 6 1/2 inches.


Fast Flying Geese: Draw diagonal lines on your four colored 3 7/8 squares and place two on one diagonal of the large background square. Sew 1/4 inch on each side of the line, cut apart and iron.


Repeat with remaining two colored squares to yield four fast flying geese units.


Lay out block as shown below and sew together to produce the finished block!


Don't forget to come back for next week's link up and to share your pictures in the Flickr group! Only TWO more blocks to go!

Friday, July 11, 2014

July Sew Pieceful Swap Blocks

This month in the Sew Pieceful Bee on Flickr we have tiny hives! I only had to make 4 blocks including one for myself!

I decided to use the Weathervane block this month as my block of choice.


All three of the blocks that I made for my hive mates have black backgrounds. I used a few different white on white prints for the background of my block since the previous blocks I had made both had grey for background.

Here are all of the blocks that I've made (three in the left most column) and the ones that I received in May and June.


I've seen my July blocks (at least some of them!) posted in the Flickr Group, but none have come in the mail just yet.

Happy Friday to you! I'm WAY behind on putting together the tutorial for the QCQAL block that comes out on Monday, so I'll be doing that as soon as I get off the computer!

Tuesday, July 8, 2014

Wishes Block #7 -- Courthouse Lawn

It's Wishes block time again! This month's block is Courthouse Lawn and it reminds me of a granny square block in some ways.


Not quite as fast to come together as last month's Susannah block, but still simple and fun!

Tutorials for blocks 1-7 are still available if you're interested in joining in on the fun!

Since this is a short post, here's Little Bunny Clara napping in her box.


Happy Tuesday!

Monday, July 7, 2014

July Lovely Year of Finishes Goal

Since I didn't make my June goal (my first fail month this year!) since I needed to get more fabric, I'm going to renew it as my goal for this month.


Since last month, I did finish all of the paper pieced triangle units! Hooray! Now I just need to cut all of my 4 1/2 inch squares and then I'll be ready to get the top put together.


Nothing like waiting until the last minute to get my goal posted!

Friday, July 4, 2014

June and July Sew Kitschy Blocks

I don't know what happened to June. I was rather unmotivated to do any sewing (other than keeping up with the QCQAL blocks, of course) so my June Sew Kitschy block was printed out and sat on my sewing table all month. I managed to get both June and July done yesterday, inspired by a Lost mini-marathon.

Here's my June pitcher and glasses:


I think this one is the last one I might do with a fully red background.

Here's July's radio:


I wish that I had more of that background fabric!

Here's all seven of my finished blocks all together:


I'm very happy with the blend of colors thus far. It's been easy to add in fabrics as I've gone along and I might hold off on putting it all together just yet because I think that I may purchase Kristy's other paper piecing kitchen sets and put together a large wall hanging.

Happy fourth of July! Miss Clara Belle wishes you a happy Independence Day!


PS. I got a new camera for my birthday (YAY!) but I am still figuring it out and I need to get a camera card for it (dumb thing only holds three pictures without a camera card -- BOO!) so bear with me for the time being, please!